
What is Amazon CloudFront CDN?
Amazon CloudFront is a fast content delivery network (CDN) service that securely delivers data, videos, applications, and APIs to customers globally with low latency, high transfer speeds, all within a developer-friendly environment. CloudFront is integrated with AWS – both physical locations that are directly connected to the AWS global infrastructure, as well as other AWS services.
source: Amazon AWS
Why using origin push really matter?
Most Amazon CloudFront tutorials for WordPress I came across focus on setting up WordPress with pull origin which means CloudFront will first go to the original server (your server) to pull the requested file like an image, css or js file, CloudFront will cache the file at their edge servers until the file expires based on Default TTL (Time To Live) which is the default amount of time, in seconds, that you want objects to stay in CloudFront caches before CloudFront forwards another request to your origin.
![]()
This method of content delivery is great and easy to manage almost hands-free but can be slower than origin push and gives you no control over your files. Site visitors trying to access a file for the first time, or accessing it after the cache has expired, may notice a small lag while CloudFlare cache the file to their edge servers. Setting high TTL can help minimize the problem.
So what is CloudFront origin push and how to set it up?
Storing your site resources (images, CSS, Javascript) in Amazon S3 and using CloudFront to distribute it is considered origin push since your files are already stored inside Amazon AWS network, you only need to upload all your files to S3 once then use s3cmd to sync new files from your server to S3. Origin push gives you greater flexibility and control over your contents and save on bandwidth usage as well.
Here’s the deal:
I will describe 2 methods to accomplish this and both require caching plugin like W3 Total Cache (Freemium) or WP-Rocket (Paid). Both are great plugins but I will use WP-Rocket here for its ease of use.
Method 1 (Preferred): Using s3cmd
Step 1- Login to your AWS account and create a new S3 bucket in AWS and let’s call it www.domain.com for uniqueness, this will serve as your files repository
Step 2- Install and configure s3cmd to upload your files to your S3 bucket, for servers running CentOS7 or a RHEL7 variation as root run:
# yum install s3cmd
# s3cmd --configure
for servers running Debian or Ubuntu run this command:
$sudo apt-get update && sudo apt-get install s3cmd
$sudo s3cmd --configure
You’ll be prompted for AWS access_key and access token with Read/Write access to your S3 bucket and Encryption password, you can use password you like.
If s3cmd is not available in your OS package repo you can add s3tools repo by following instructions at s3tools.org website.
Step 3- Copy your wp-content folder to S3 bucket using this command:
# s3cmd put -r --add-header=Cache-Control:max-age=31536000 /home/username/public_html/wp-content s3://www.domain.com/
# s3cmd put -r --add-header=Cache-Control:max-age=31536000 /home/username/public_html/wp-includes s3://www.domain.com/
> Choose max-age as desired 31536000 = 1 Year
Step 4- Create a cronjob to sync new files to S3 every 5 minutes automatically:
*/5 * * * * root /usr/bin/s3cmd sync -r –delete-removed –add-header “Cache-Control:max-age=31536000” /home/username/public_html/wp-content/ s3://www.domain.com/wp-content/
*/5 * * * * root /usr/bin/s3cmd put -r —delete-removed –add-header “Cache-Control:max-age=31536000” /home/username/public_html/wp-includes/ s3://www.domain.com/wp-includes/
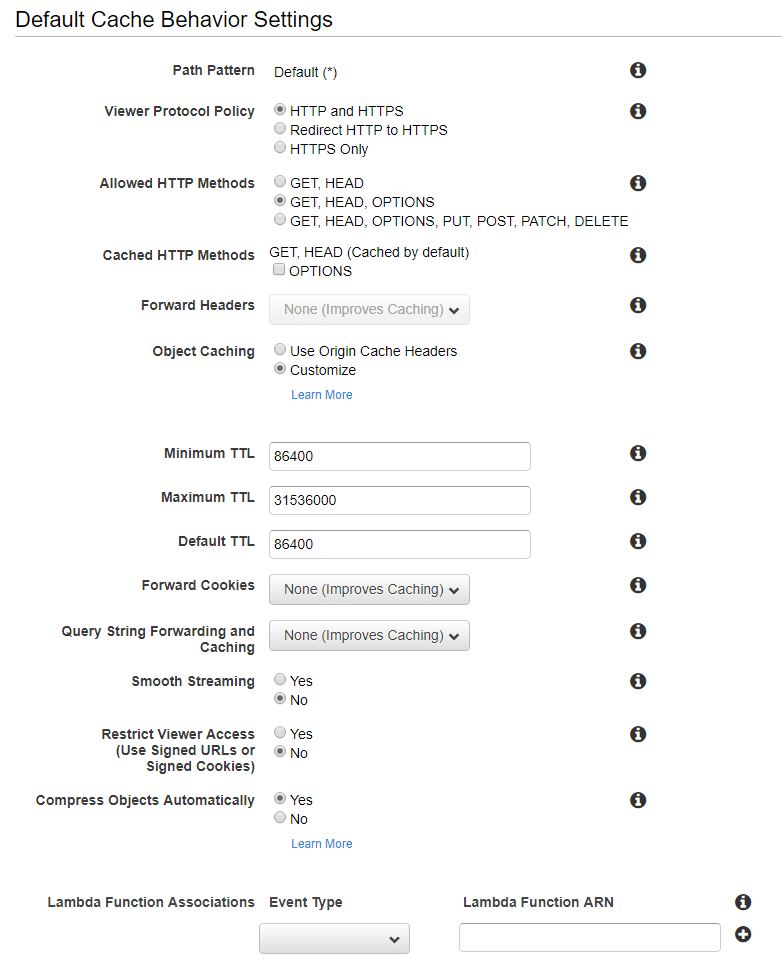
Step 5- Now switch to CloudFront and create a new Web distribution as shown:
Step 6- Select your Amazon S3 bucket from (Origin Domain Name) field drop down, and if your site use HTTPS protocol – most website should for security, privacy and SEO – select (Redirect HTTP to HTTPS). If you have your own wildcard SSL Certificate you can upload it through Amazon AWS certificate manager , select (Custom Certification) and use your certificate for serving your site resources. You can also request a wildcard certificate issued by Amazon for free from AWS certificate manager and use that instead, (Allowed HTTP Methods) then accept all default and click Create Distribution. You can go back after creating the distribution to modify your configuration.

7- Create a CNAME for your distribution domain name for example (a1b2c3d4e5f6.cloudfront.net), create a new record with the following values:
Name: cdn.domain.com
Type: CNAME
Value: a1b2c3d4e5f6.cloudfront.net
Step 8- Install and activate WP-Rocket (v2.9.11 as of this writing)

Step 9- Open the CDN tab and check the option to (Enable Content Delivery Network)
Step 10- Replace site’s hostname with: https://cdn.domain.com
Step 11- Save Changes
Step 12- When adding new files to S3 wait 5 minutes for CloudFlare to distribute your files to edge servers.
Method 2: Using AWS and WP Offload Media
Install Amazon Web Services and WP Offload Media plugins by following this video:
Use the method that makes more sense to you but remember using CDN is better than not using one at all. CND means better site performance and improved search engine ranking.
I hope you find this tutorial useful and if I missed any step feel free to add it in the comment below.
The best part?
If you have a cPanel or Plesk VPS server with us contact support to install s3cmd and create the cronjobs for you. If you looking for a new VPS to host your WordPress site contact us today to get started.